Register a GCP Instance
This guide shows you how to register a GCP instance with Omni.
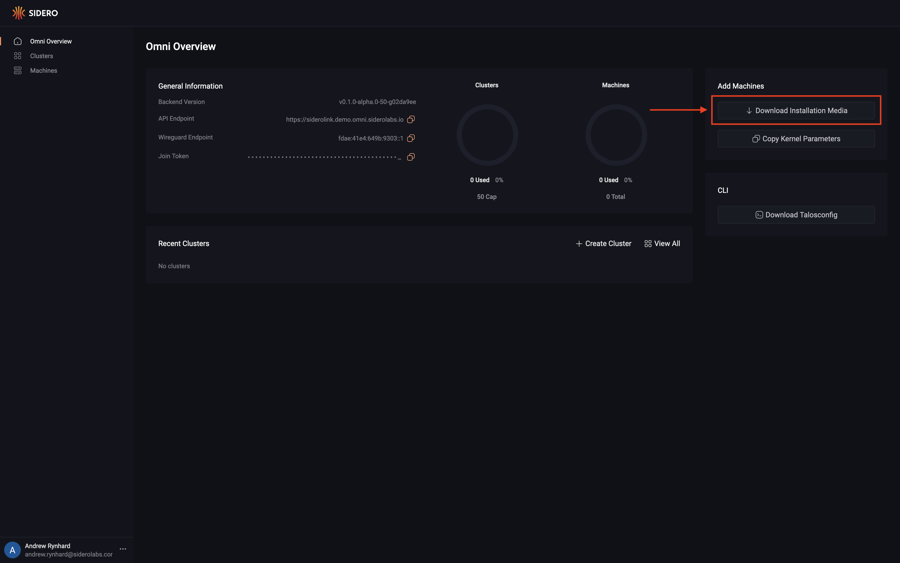
Dashboard
Upon logging in you will be presented with the Omni dashboard.
Download the Image
First, download the GCP image from the Omni portal by clicking on the “Download Installation Media” button.
Now, click on the “Options” dropdown menu and search for the “GCP” option.
Notice there are two options: one for amd64 and another for arm64.
Select the appropriate option for the machine you are registering.
Now that you have selected the GCP option for the appropriate architecture, click the “Download” button.

Upload the Image
In the Google Cloud console, navigate to Buckets under the Cloud Storage menu, and create a new bucket with the default.
Click on the bucket in the Google Cloud console, click Upload Files, and select the image download from the Omni console.
Convert the Image
In the Google Cloud console select Images under the Compute Engine menu, and then Create Image.
Name your image (e.g. Omni-talos-1.2.6), then select the Source as Cloud Storage File.
Click Browse in the Cloud Storage File field and navigate to the bucket you created.
Select the image you uploaded.
Leave the rest of the options at their default and click Create at the bottom.
Create a GCP Instance
In Google Cloud console select VM instances under the Compute Engine menu.
Now select Create Instance.
Name your instance, and select a region and zone.
Under “Machine Configuration”, ensure your instance has at least 4GB of memory.
In the Boot Disk section, select Change and then select Custom Images.
Select the image created in the previous steps.
Now, click Create at the bottom to create your instance.
Conclusion
Navigate to the “Machines” menu in the sidebar. You should now see a machine listed.
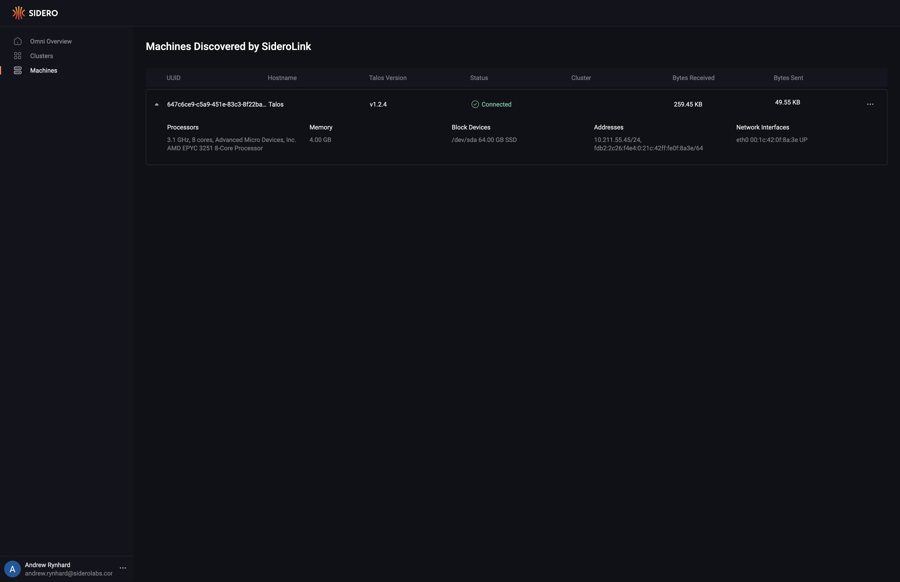
You now have a GCP machine registered with Omni and ready to provision.