Register an Azure Instance
This guide shows you how to register an Azure instance with Omni.
Dashboard
Upon logging in you will be presented with the Omni dashboard.
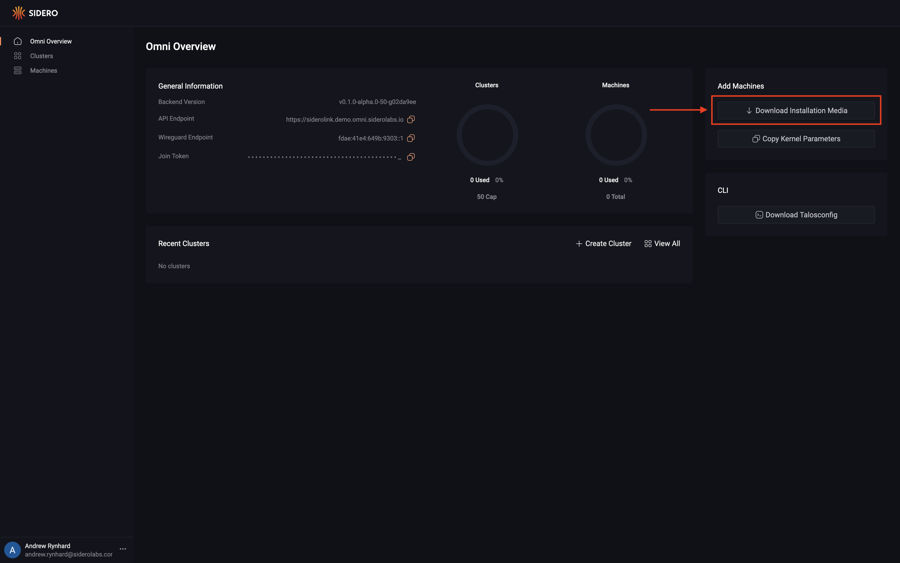
Download the Image
Download the Azure image from the Omni portal by clicking on the “Download Installation Media” button.
Click on the “Options” dropdown menu and search for the “Azure” option.
Notice there are two options: one for amd64 and another for arm64.
Select the appropriate architecture for the machine you are registering, then click the “Download” button.
Once downloaded to your local machine, untar with tar -xvf /path/to/image
Upload the Image
In the Azure console, navigate to Storage accounts, and create a new storage account.
Once the account is provisioned, navigate to the resource and click Upload. In the Upload Blob form, select Create New container, and name your container (e.g. omni-may-2023).
Now click Browse for Files, and select the disk.vhd file that you uncompressed above, then select Upload.
We’ll make use of the following environment variables throughout the setup. Edit the variables below with your correct information.
# Storage account to use
export STORAGE_ACCOUNT="StorageAccountName"

# Storage container to upload to
export STORAGE_CONTAINER="StorageContainerName"

# Resource group name
export GROUP="ResourceGroupName"

# Location
export LOCATION="centralus"

# Get storage account connection string based on info above
export CONNECTION=$(az storage account show-connection-string \
                    -n $STORAGE_ACCOUNT \
                    -g $GROUP \
                    -o tsv)
You can upload the image you uncompressed to blob storage with:
az storage blob upload \
  --connection-string $CONNECTION \
  --container-name $STORAGE_CONTAINER \
  -f /path/to/extracted/disk.vhd \
  -n omni-azure.vhd
Convert the Image
In the Azure console select Images, and then Create.
Select a Resource Group, Name your image (e.g. omni-may), and set the OS type to Linux.
Now Browse to the storage blob created above, navigating to the container with the uploaded disk.vhd.
Select “Standard HDD” for account type, then click Review and Create, then Create.
Now that the image is present in our blob storage, we’ll register it.
az image create \
  --name omni \
  --source https://$STORAGE_ACCOUNT.blob.core.windows.net/$STORAGE_CONTAINER/omni-azure.vhd \
  --os-type linux \
  -g $GROUP
Create an Azure Instance
Creating an instance requires setting the os-disk-size property, which is easiest to achieve via the CLI:
az vm create \
    --name azure-worker \
    --image omni \
    -g $GROUP \
    --admin-username talos \
    --generate-ssh-keys \
    --verbose \
    --os-disk-size-gb 20
Conclusion
In the Omni UI, navigate to the “Machines” menu in the sidebar. You should now see the Azure machine that was created listed as an available machine, registered with Omni and ready to provision.